One Does Not Live by Bread Alone, There is also Fish and Vegetables…
What is Lent?
Lent is the forty-day liturgical season of fasting and prayer before the resurrection of Jesus Christ on Easter Sunday. The forty days represent the time Jesus spent in the desert, where, according to the Bible, he endured temptation by Satan.
Here is a little history….
On the Christian calendar, Lent is the 40-day period from Ash Wednesday to Easter. When it was first observed in the fourth century, its focus was on self-examination and self-denial in preparation for Easter, and Christians used fasting (abstaining from eating food) in the early years as a visible demonstration of this process.
Over the centuries, Catholics have relaxed some of the strict fasting rules. Today, only Ash Wednesday, Good Friday, and all Fridays during Lent are considered fasting days.
On these days, Catholics over the age of 14 are to refrain from eating meat. In addition, on Ash Wednesday and Good Friday, those between the ages of 18 and 59 are to eat only one full meal and two smaller meals and aren’t to eat between meals. Orthodox Christians are far more rigorous in their observance of fasting during Lent, believing that regular fasting is a crucially important discipline for one’s spiritual growth. Meat, dairy products, and eggs (which historically were considered more luxury foods than ordinary breads) aren’t allowed, with some additional restrictions on certain days. They can only eat fish (which was historically considered less of a luxury than red meat) on the feasts of the Annunciation and Palm Sunday. In addition to refraining from eating, Lent is often a time when Christians give up something pleasurable (furthering the focus on self-denial), be it chocolate, meat or — shudder the thought! — Coffee.
SO….What does this all mean to you?
Well whether you participate in Lent or not, it means you will need RECIPES!!! Whatever rules your family lives by, you need to know what to feed them right? So I have gathered up some recipes that are perfect for Lent, or anytime really. I hope a few of them will be your favorites!
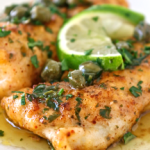
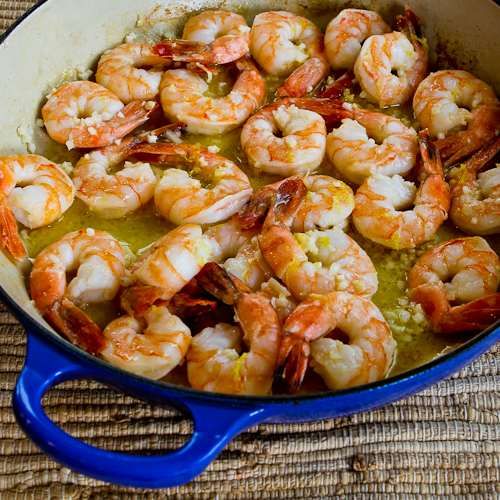
Garlic and Lemon Shrimp
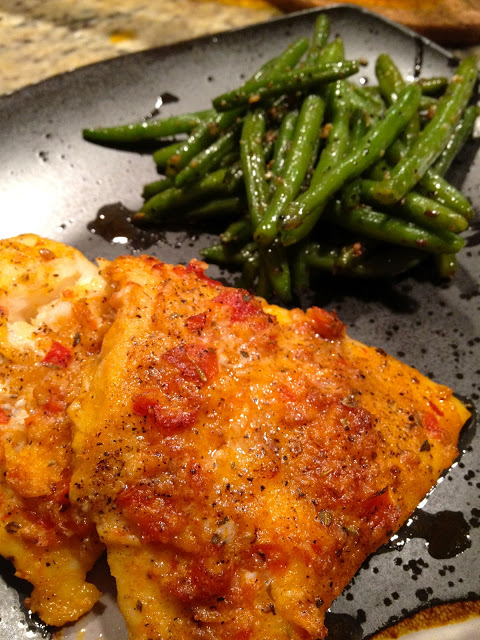
Famous for its potent smell, Bacalao was once one of the world’s most important food commodities. Popularized in Europe thanks to fisherman from northern Spain who cleverly devised a way to preserve it—cure it with loads of salt, then set it out to dry under the sun—during their long journeys on the high seas, bacalao eventually made its way to the new world, a pre-industrial protein that traveled well without refrigeration. These days, dried bacalao remains popular throughout Latin America, especially during the holy days of Lent, when it’s often braised in a flavorful, tomato-based sofrito-style stew.
But this recipe, takes a different approach to the beloved bacalao: lighter and simpler to make, it’s also better for those watching their sodium intake.
Bacalao with capers and cilantro
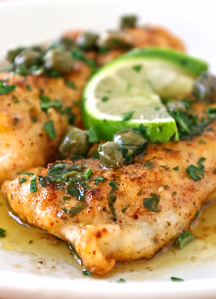
Spicy Baked Cod
click here for this spicy treat…
For those who don’t enjoy seafood…here are a few veggie options.
Sweet Potato and Lentil Soup
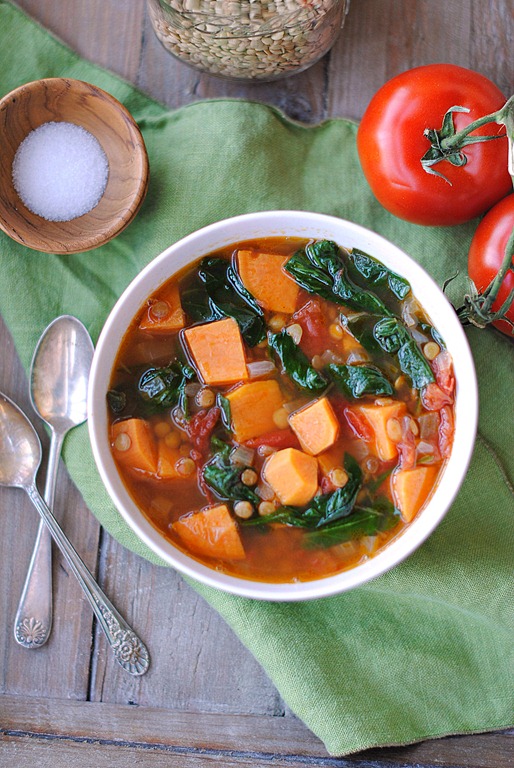
This is one vegan veggie soup that is so packed with flavor…who needs meat!
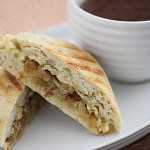
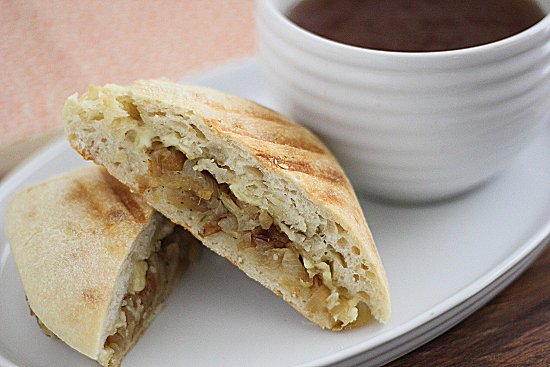
In traditional French Onion Soup, you make the soup and float a piece of crusty bread topped with cheese on top of it. And it’s delicious! This recipe is a little bit different, though. The bread, onions, and cheese are in grilled Panini form. The (faux) beef broth is served on the side and you dip your sandwich into it. As you eat your Panini, bits of onion, cheese, and bread fall into the broth so when you’ve finished off your sandwich, you have a little bowl of French Onion bliss waiting for you.
French Onion Soup Sandwiches
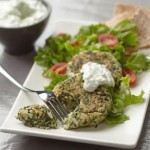
Feta & Spinach Couscous Patties

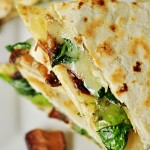
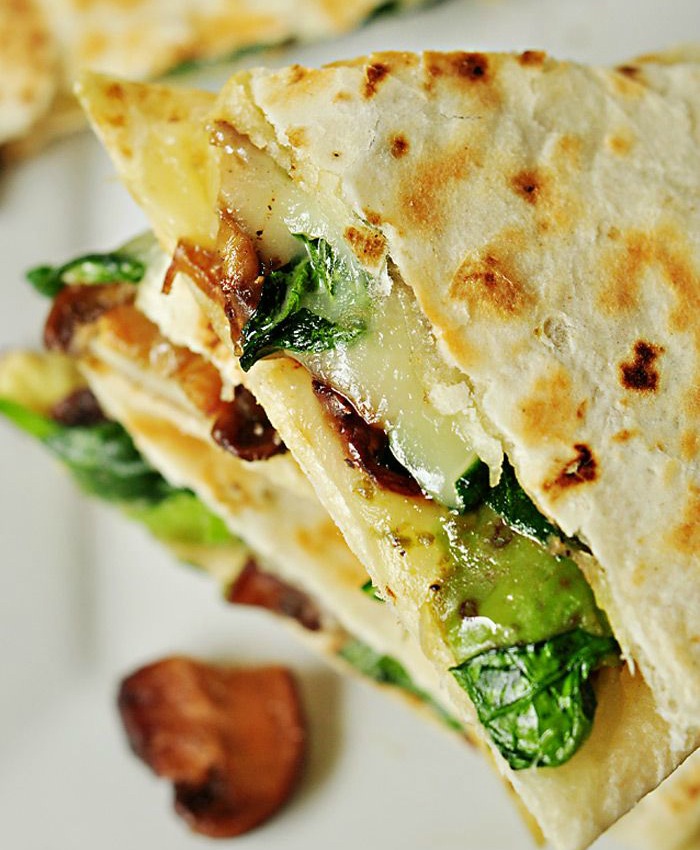
As with most quesadilla recipes, these whip up in no time. The most time-consuming step is sauteing the mushrooms, and I think you will agree that your 15 minutes was well-invested once you taste the resulting garlicky awesomeness. After the mushrooms are prepped, all you do is layer the ingredients and cook your quesadillas in a skillet until the tortillas are toasty, the spinach wilts, and the cheese is melted. And then? You dig in. And that’s the best part by far.
Spinach and Mushroom Quesadillas with Avocado and Pepper Jack Cheese
You won’t go hungry with these meals under your belt!
Lent is Feb 18 – April 2
Lent is meant to be about not what we lack, but what we gain in the form of spiritual growth and conversion.