Not Your Ordinary Wings, No Sir!
These Wings Will Ruffle up Your
Game Day Feathers!
Just 3 days away and you are about to have a house full of hungry football fans cheering on their favorite team, and hoping to score a TOUCHDOWN!
You can score a personal TOUCHDOWN of your own, with a menu that totally says…
”This girl knows her crowd!”
Who doesn’t love WINGS and FOOTBALL!! That’s right…WINGS!!
I have compiled a pretty satisfying assortment of sticky, sweet, spicy and finger-licking good choices along with TWO tasty side dishes that I believe will have your guests yelling TOUCHDOWN on both counts!
Let’s get that party started!!
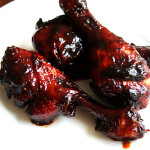
Root Beer Honey BBQ Wings
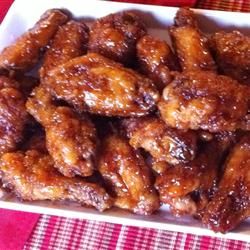
Any excuse for Chicken Wings is a good one, and these are a must-have for your Game Day Menu!
Baked Honey Sriracha Wings
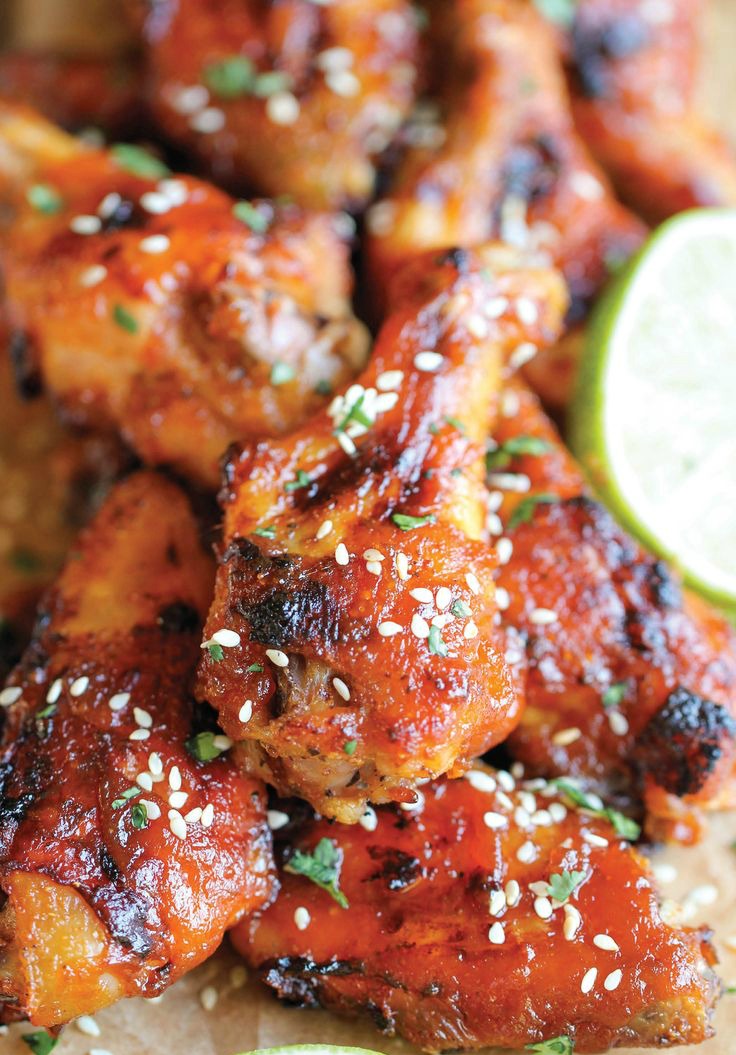
How about something mouthwatering and savory! These delicious wings are for those who don’t care to be sticky….
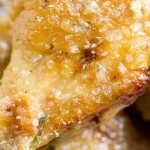
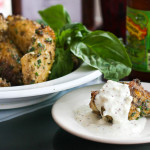
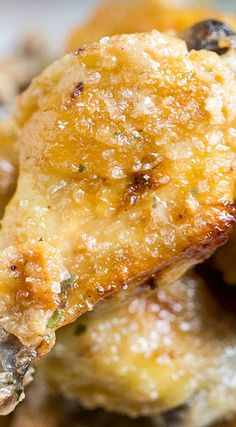
Baked Parmesan Garlic Chicken Wings

Click here to try this amazing flavor explosion!
The star of most Super Bowl parties is the chicken wing, crispy and covered in a delicious sauce. If you are going to make wings for your Super Bowl party …they may as well be amazing! Let’s keep going, I have a few more delicious options ahead….
Honey-Soy Chicken Wings
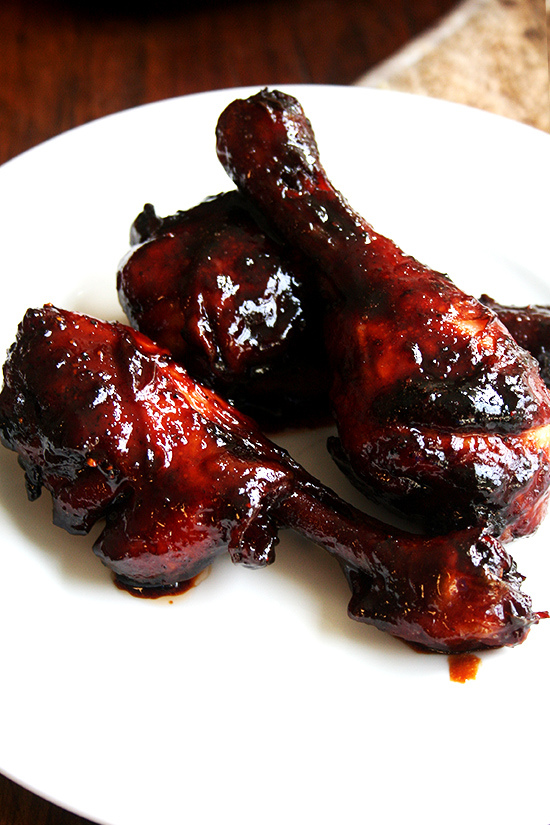
This is that “Wow” kinda wing…for those who crave sweet and salty…
I am betting the kids will really dig this one…Yes, it tastes just like the chips! Grab a plate!
Salt and Vinegar Chicken Wings
No Sauce needed…plenty of flavor and tang to tempt those taste buds into another cold one!
If you enjoy Asian style food then you will LOVE this. These wings have an Asian flair and are sticky, saucy, sweet, and tangy.
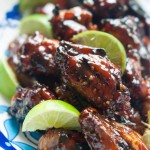
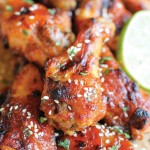
Honey Lime Sesame Chicken Wings
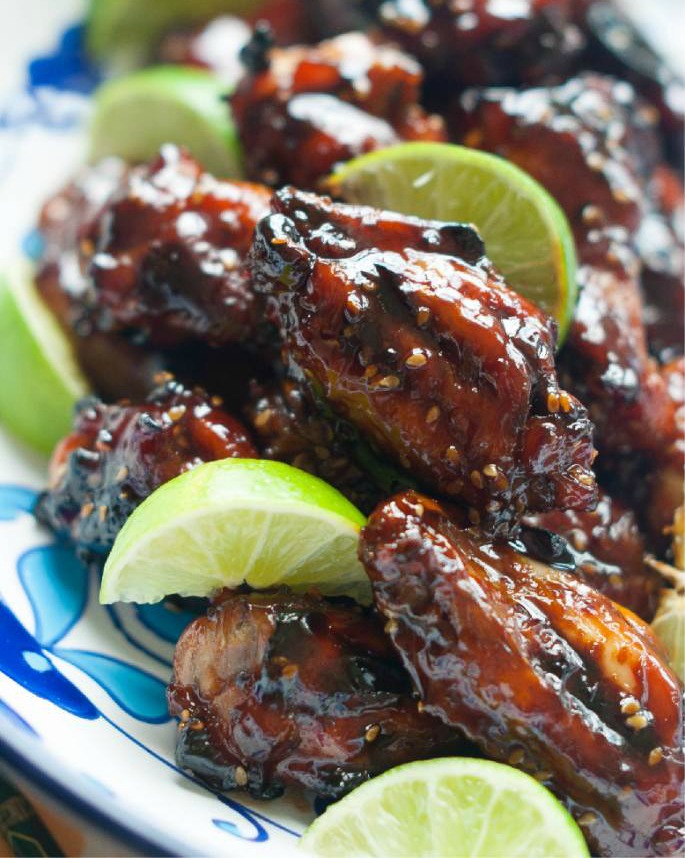
These are so easy to whip up, SO flavorful, and are fall off the bone tender.
Now that we have you all set with the wings…how about a few tasty sides to go with it.
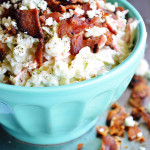
Blue Cheese Coleslaw (with bacon)
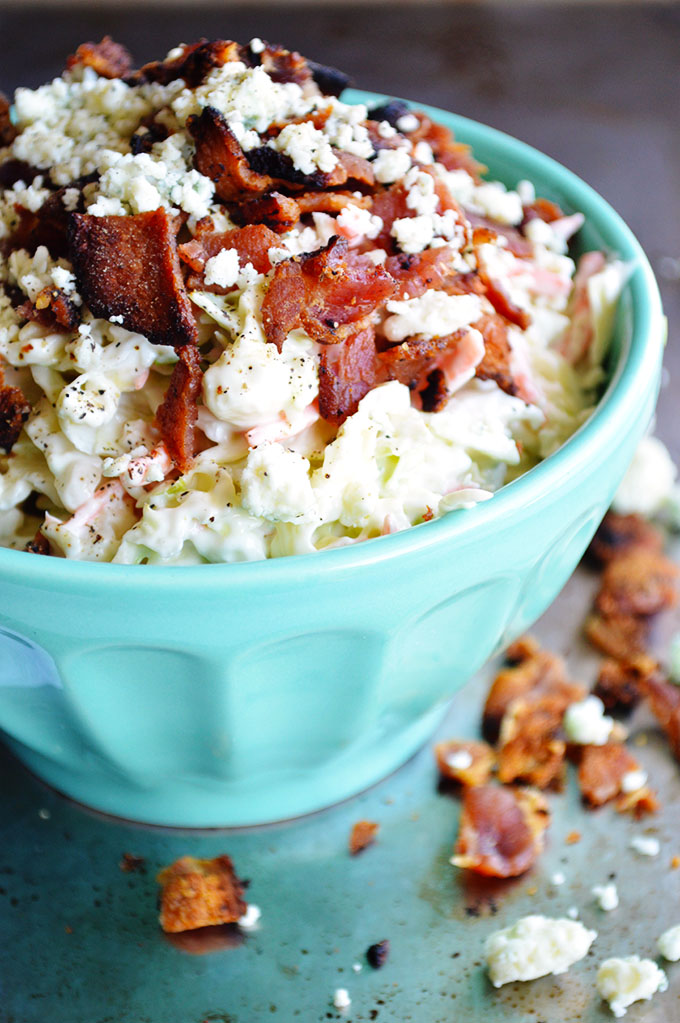
This creamy and cheesy coleslaw with bacon is the perfect side dish for any meal!
And last but not least by any means…a little something that can be enjoyed as a side to all those delicious wings, or is just perfect as a stand alone type of dish for those who prefer just the veggies…
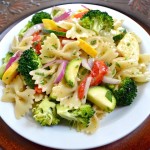
Vegetable Pasta Salad
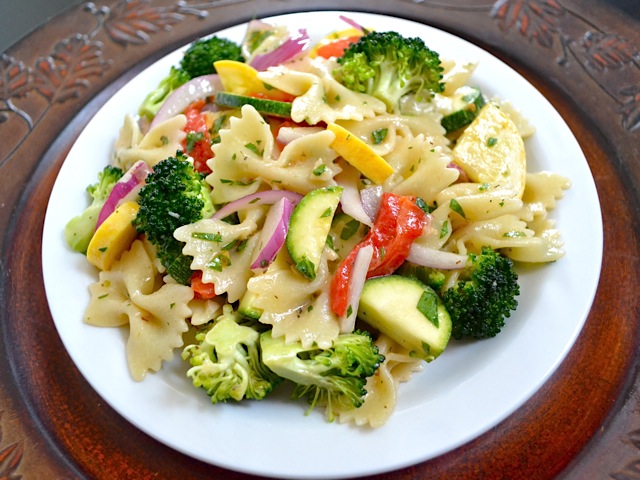
This dish can hold it’s own..even in this crowd!
The best thing about this MENU is that , all of these delicious recipes can be enjoyed the next day as well! Don’t forget to put out PLENTY OF NAPKINS!!
One final tip from me on game day ….
Don’t Get a Game Day Penalty! ( Follow these tips to keep everyone safe)
Baking Your Wings
To start baking wings, preheat your oven to 400 °F. Meanwhile, place your wings in a rimmed baking sheet. To ensure maximum crispiness, do not crowd the wings and place them in a single layer.
After 30 minutes of cooking take out the pan, flip the wings and continue baking for another 15 to 20 minutes. This will ensure both sides of the wings are crispy. Read on to learn how to properly take the internal temperature of a sample of your wings before your serve them. Taking the internal temperature is the only way to know if the wings are fully cooked and ready to eat.
Frying Your Wings
If you want to fry your wings, and are using a skillet, fill oil no more than 2 inches from the top of the skillet to allow space for the oil to rise. It is best if you have a candy or deep frying thermometer to ensure the oil reaches and stays at 375 °F. When your oil reaches that temperature you’re ready to cook.
Before frying, remove the chicken wings from the refrigerator and pat dry the wings to prevent oil splatter.
Make sure not to overcrowd the chicken wings as you place them in the fryer. If crowded, wings can turn our undercooked and increase the chances of giving your guests food poisoning.
While it is important to test the internal temperature of the chicken wings to ensure they are cooked, DO NOT test the temperature while the wings are submerged in oil. This will lead to an inaccurate temperature reading. To take the temperature of your wings, place them on a clean plate covered with paper towels.
Taking the Temperature
Whether you are frying or baking your wings, it’s important to take the internal temperature of multiple wings with a clean food thermometer. For an accurate reading, insert the meat thermometer into the thickest area of the wing being careful to avoid the bone.
If the wings are below the minimum safe internal temperature of 165 °F, return to the oven or submerge again in the hot oil.
After Cooking
Coat your delicious wings with a sauce of your choosing and remember to refrigerate leftovers within 2 hours. Cooked food left out longer than 2 hours can rapidly grow bacteria making it unsafe to eat.
Touchdown!!